
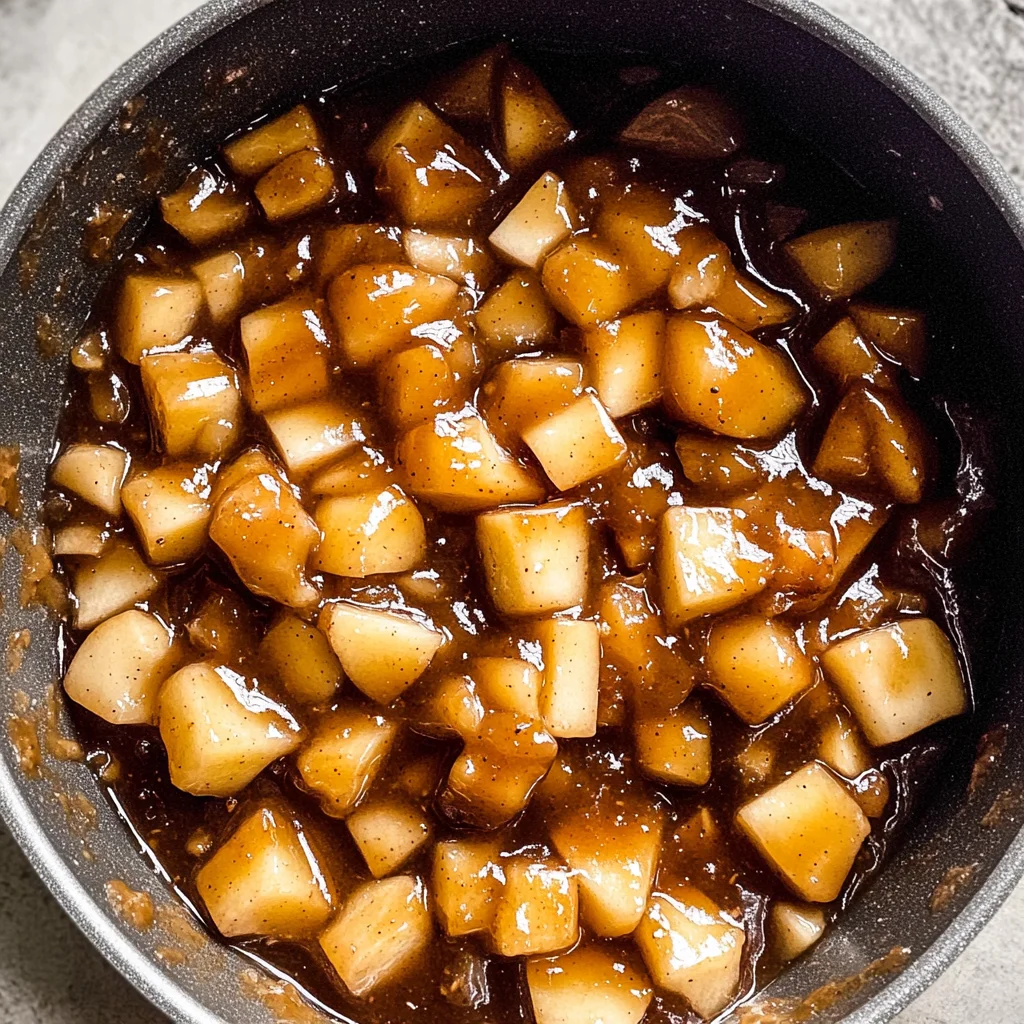
If you’re looking for the ultimate comfort food, this Homemade Apple Pie Filling is just what you need! There’s something magical about the sweet and spiced aroma of apples cooking away on the stove. It takes me back to cozy afternoons spent in my grandmother’s kitchen, where the love for baking was passed down to me. This recipe is not just perfect for apple pies; it’s versatile enough to elevate all sorts of baked goods and desserts.
Whether you’re whipping up a quick dessert for a busy weeknight or preparing for a family gathering, this filling will surely impress. Plus, it’s super easy to make and uses simple, wholesome ingredients that you probably already have at home.
Why You’ll Love This Recipe
- Quick and Easy: With just a few steps, you can have delicious apple pie filling ready in no time.
- Perfectly Spiced: The blend of cinnamon and nutmeg creates an irresistible flavor that warms the heart.
- Versatile Use: Great for pies, tarts, or even as a topping for pancakes and ice cream!
- Make Ahead: Prepare a big batch and store it in your fridge or freezer for later use.
- Family Favorite: Kids and adults alike will love this comforting treat!
Ingredients You’ll Need
Let’s talk about the ingredients! This Homemade Apple Pie Filling uses simple, wholesome components that come together beautifully. You’ll find that these ingredients are not only easy to work with but also readily available at your local grocery store.
For the Filling
- 9 cups fresh apples, peeled, cored, and chopped into uniform sizes
- 2 tablespoons lemon juice
- 3 cups white sugar
- 2 tablespoons brown sugar
- 1/2 cup cornstarch
- 1 teaspoon ground cinnamon
- 1/2 teaspoon ground nutmeg
- 1/2 teaspoon coarse sea salt
Variations
What I love about this recipe is its flexibility! You can easily adjust it to suit your taste or experiment with different flavors. Here are some fun variations to try:
- Add some zest: Consider adding the zest of one lemon or orange for a refreshing twist.
- Mix in other fruits: Combine apples with pears or berries for a delicious fruit medley filling.
- Sweeten it up: If you prefer a sweeter filling, feel free to add more brown sugar or even maple syrup.
- Go nutty: Stir in some chopped nuts like walnuts or pecans for added crunch and flavor.
How to Make Homemade Apple Pie Filling
Step 1: Prepare the Apples
In a large bowl, toss together your freshly chopped apples with lemon juice. This step is crucial as it prevents browning and keeps your apples looking fresh. Set them aside while you prepare the sweet sauce.
Step 2: Create the Sauce
In a large Dutch oven or saucepan, combine white sugar, brown sugar, cornstarch, cinnamon, nutmeg, and sea salt. Add four cups of water and bring it to a low simmer. Stirring frequently helps dissolve the sugars and thicken the sauce perfectly.
Step 3: Cook the Apples
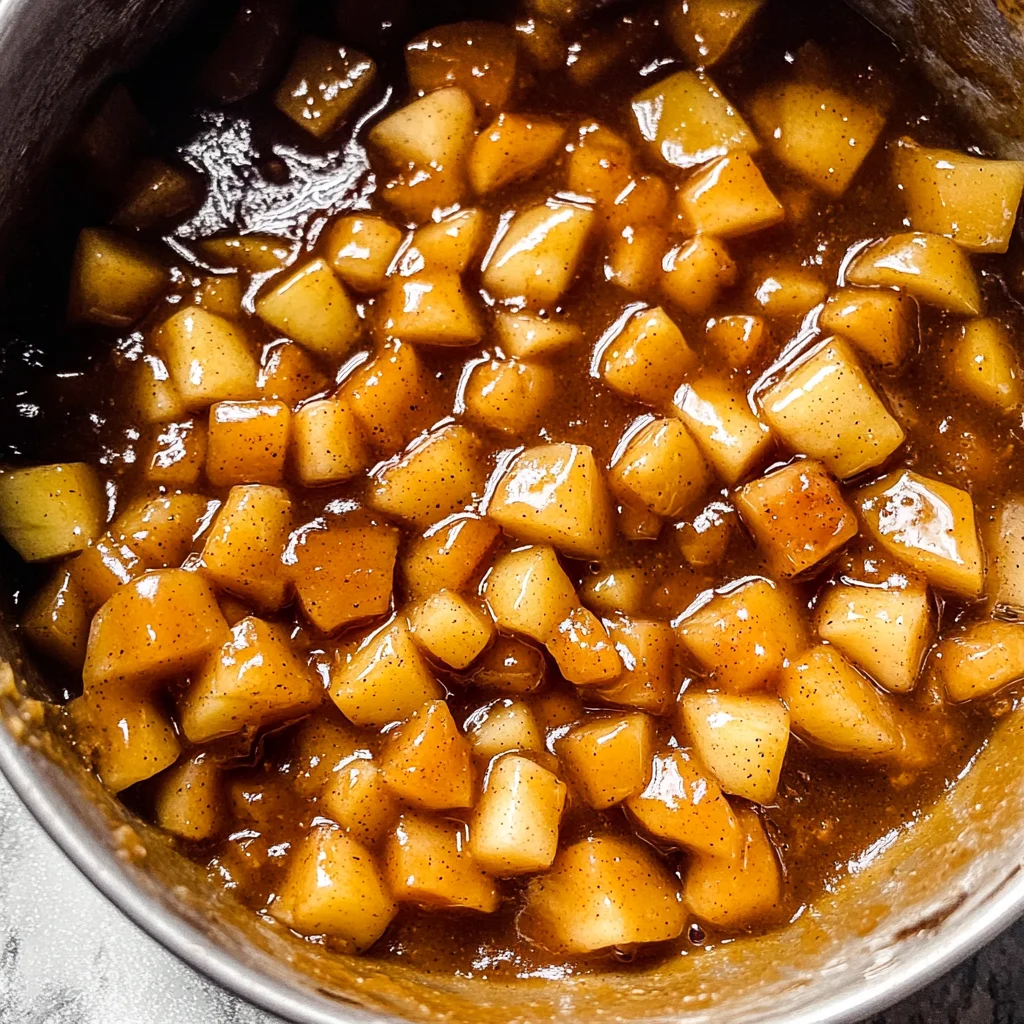
Now it’s time to add those beautiful apples into your simmering sauce! Cover the pot and let them cook for about 6-10 minutes. If your apple pieces are bite-sized, they’ll soften quicker—around six minutes should do it. You want them tender but not mushy!
Step 4: Cool Down
Once cooked, remove the pot from heat and allow your Homemade Apple Pie Filling to cool completely. This cooling period is essential if you’re planning to can or freeze it!
Step 5: Store or Enjoy!
After cooling, you can use this delicious filling right away in your favorite recipes or store it in jars for later use. If you’ve made this recipe before, I’d love to hear how it turned out—drop me a comment below!
Now that you have this delightful homemade apple pie filling recipe up your sleeve, get ready to bake up something special!
Pro Tips for Making Homemade Apple Pie Filling
Creating the perfect apple pie filling is an art, and with these tips, you’ll be a pro in no time!
- Choose the right apples: Opt for a mix of sweet and tart apples like Granny Smith and Honeycrisp for a balanced flavor that will elevate your filling.
- Cut uniform pieces: Making sure your apple chunks are similar in size ensures even cooking. This way, every bite will have that delightful tenderness.
- Don’t skip the lemon juice: Adding lemon juice not only prevents browning but also brightens the overall flavor of the apples, making them taste fresh and vibrant.
- Adjust sugar to taste: Depending on your apple variety’s sweetness, you may want to adjust the sugar. Taste your mixture as it cooks to find that perfect balance.
- Cool before using: Allowing your filling to cool before use thickens it further and makes it easier to handle when you’re assembling pies or other desserts.
How to Serve Homemade Apple Pie Filling
Your homemade apple pie filling can be enjoyed in many delicious ways! Here are some ideas for presenting this delightful treat.
Garnishes
- Whipped coconut cream: A dollop of whipped coconut cream adds a creamy, dairy-free indulgence that pairs perfectly with warm apple filling.
- Chopped nuts: Sprinkle some toasted walnuts or pecans on top for an added crunch and nutty flavor that complements the sweetness of the apples.
Side Dishes
- Vanilla ice cream: A scoop of dairy-free vanilla ice cream on the side creates a classic combination with warm apple pie filling, enhancing its comforting appeal.
- Oatmeal: Serve your apple pie filling over a warm bowl of oatmeal for a hearty breakfast treat that’s both satisfying and wholesome.
- Pancakes or waffles: Drizzle your homemade apple pie filling over pancakes or waffles for a delightful brunch option that everyone will love.
- Yogurt parfaits: Layer apple pie filling with yogurt and granola in a glass for a deliciously simple dessert or snack that’s healthy yet indulgent.
With these serving suggestions and tips, your homemade apple pie filling will surely become a favorite centerpiece for gatherings or family dinners! Enjoy every bite!
Make Ahead and Storage
This Homemade Apple Pie Filling is perfect for meal prep, making it easy to whip up your favorite desserts throughout the week. With its simple ingredients and straightforward process, you can enjoy fresh apple pie filling anytime!
Storing Leftovers
- Store any leftover apple pie filling in an airtight container.
- Keep it in the refrigerator for up to 5 days.
- Label the container with the date for easy tracking.
Freezing
- Allow the apple pie filling to cool completely before freezing.
- Transfer it to a freezer-safe bag or container, leaving some space for expansion.
- It can be frozen for up to 6 months. Just remember to label it!
Reheating
- Thaw frozen apple pie filling in the refrigerator overnight before using.
- To reheat, place it in a saucepan over low heat, stirring occasionally until warmed through.
- You can also microwave it in short bursts, stirring in between, until hot.
FAQs
Here are some common questions about homemade apple pie filling that may help you.
Can I use other fruits for this filling?
Absolutely! While this recipe focuses on apples, you can create delicious fillings with pears or berries as well.
What makes this Homemade Apple Pie Filling special?
This Homemade Apple Pie Filling stands out due to its perfect balance of sweetness and spice. Plus, it’s versatile enough for various desserts beyond just pies!
How long does this homemade apple pie filling last in the freezer?
Homemade Apple Pie Filling can be stored in the freezer for up to 6 months. Be sure to label your containers!
Can I adjust the sugar content in this recipe?
Yes, feel free to reduce the amount of sugar according to your taste preferences. The apples will still provide natural sweetness!
Final Thoughts
I hope you find joy in making this Homemade Apple Pie Filling! It’s such a delightful treat that brings warmth and comfort to any dessert table. Whether you’re baking a classic apple pie or using it as a topping for pancakes or ice cream, this recipe is truly special. Enjoy every bite, and I can’t wait to hear how your creations turn out!
Homemade Apple Pie Filling
Homemade Apple Pie Filling is the ultimate comfort food that adds warmth and sweetness to any dessert. With a delightful blend of fresh apples, cinnamon, and nutmeg, this easy-to-make filling evokes memories of cozy afternoons spent baking. Perfectly spiced and versatile, it can elevate pies, tarts, pancakes, or even ice cream. Plus, it’s simple enough to whip up for a quick weeknight dessert or prepare in bulk for family gatherings. Not only is it delicious, but it’s also made from wholesome ingredients that you likely already have on hand. Get ready to impress your loved ones with this delightful apple filling that brings joy to every bite!
- Prep Time: 15 minutes
- Cook Time: 10 minutes
- Total Time: 25 minutes
- Yield: About 6 servings (3 cups total) 1x
- Category: Dessert
- Method: Cooking
- Cuisine: American
Ingredients
- 9 cups fresh apples, peeled, cored, and chopped
- 2 tablespoons lemon juice
- 3 cups white sugar
- 2 tablespoons brown sugar
- 1/2 cup cornstarch
- 1 teaspoon ground cinnamon
- 1/2 teaspoon ground nutmeg
- 1/2 teaspoon coarse sea salt
Instructions
- In a large bowl, toss the chopped apples with lemon juice and set aside.
- In a Dutch oven or saucepan, combine white sugar, brown sugar, cornstarch, cinnamon, nutmeg, sea salt, and four cups of water. Bring to a low simmer while stirring frequently.
- Add the apples to the simmering sauce and cover the pot. Cook for about 6-10 minutes until the apples are tender but not mushy.
- Remove from heat and allow the filling to cool completely before using or storing.
Nutrition
- Serving Size: 1/2 cup (120g)
- Calories: 210
- Sugar: 34g
- Sodium: 5mg
- Fat: 0g
- Saturated Fat: 0g
- Unsaturated Fat: 0g
- Trans Fat: 0g
- Carbohydrates: 55g
- Fiber: 3g
- Protein: <1g
- Cholesterol: 0mg


Leave a Comment