
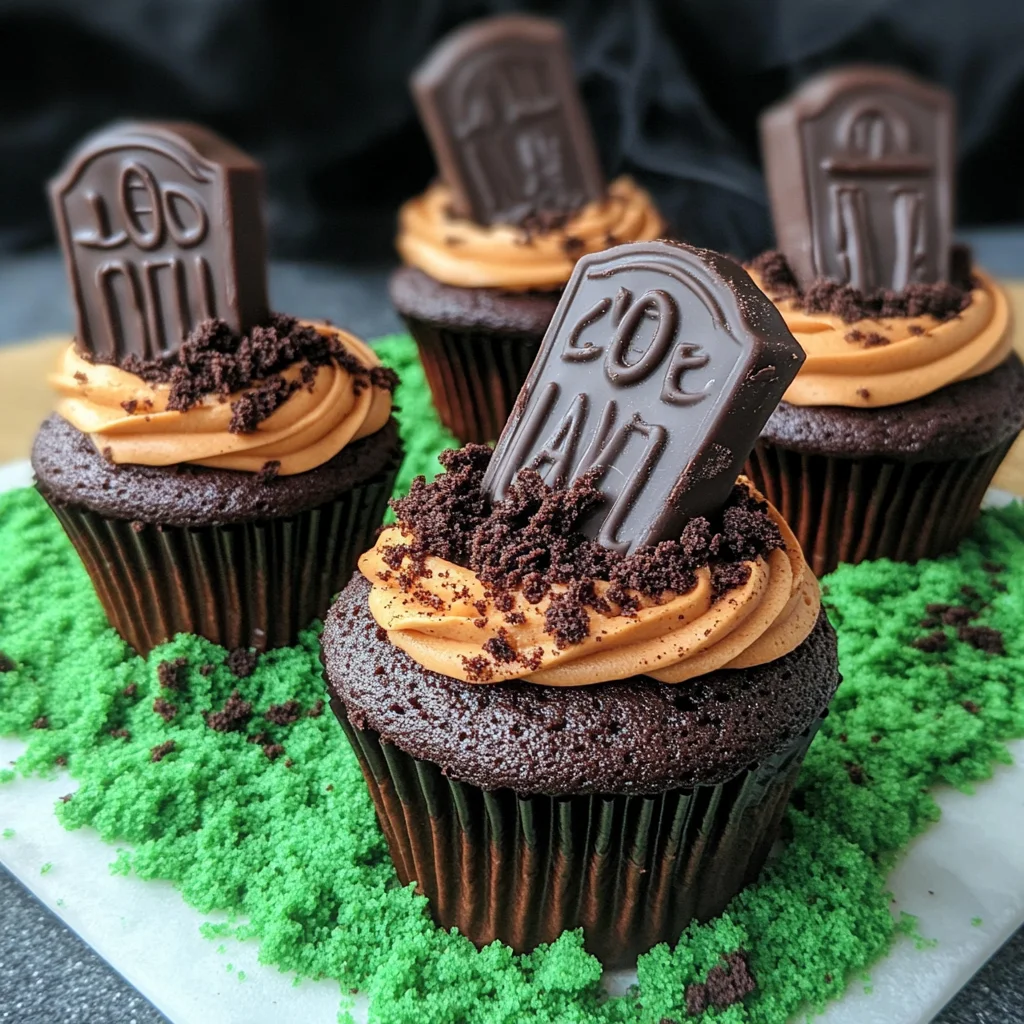
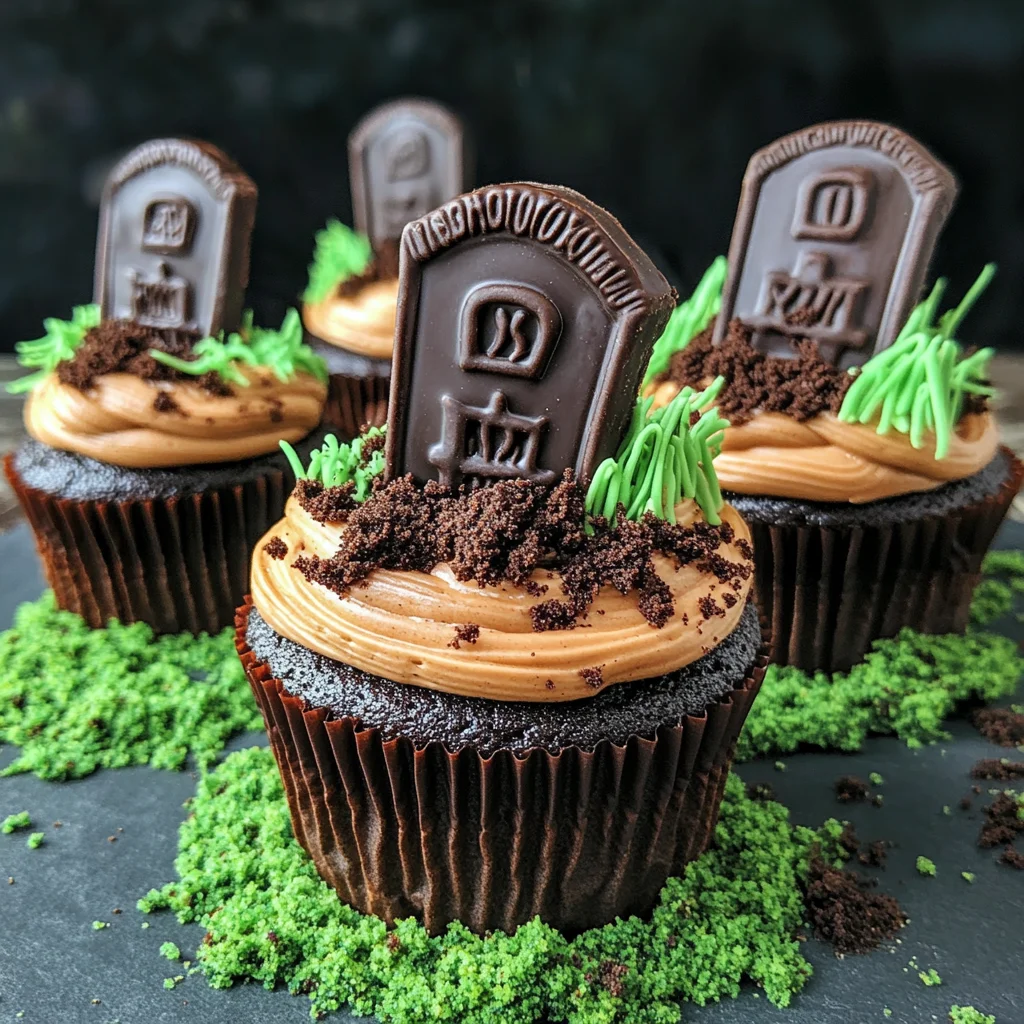
If you’re looking for a fun and spooky treat to impress your friends and family this Halloween, look no further than these delightful Halloween Graveyard Cupcakes! These little wonders are not just a feast for the eyes but also a deliciously decadent dessert. With chocolate cupcakes filled with creamy Oreo cheesecake, topped with rich chocolate buttercream, and decorated to mimic a graveyard scene, they are sure to steal the show at any gathering.
Whether you’re hosting a Halloween party or simply want to add some festive flair to your dessert table, these cupcakes will make everyone smile. Plus, they’re perfect for sharing with little ones who love all things spooky!
Why You’ll Love This Recipe
- Easy to prepare: With straightforward steps and simple ingredients, you’ll be baking like a pro in no time!
- Family-friendly fun: Kids will love helping decorate these creepy cupcakes, making it a perfect family activity.
- Versatile decoration: You can get as creative as you want with the graveyard theme—let your imagination run wild!
- Decadent flavors: The combination of chocolate, cream cheese, and Oreos guarantees a delicious treat that everyone will adore.
- Make-ahead option: Bake the cupcakes in advance and store them; they’ll stay fresh until it’s time to celebrate!
Ingredients You’ll Need
Gathering the ingredients for these Halloween Graveyard Cupcakes is half the fun! You’ll find that these are simple, wholesome ingredients that you might already have in your pantry. Let’s dive into what you need:
For the Cupcakes:
- 12 Lotus biscoff biscuits
- 150 g Dark chocolate (melted)
- 30 g White chocolate (melted)
- 175 g Baking spread or butter (softened, unsalted)
- 175 g Caster sugar
- 3 large Eggs
- 2 tbsp Milk
- 150 g Self-raising flour
- 25 g Cocoa powder
- 1/4 tsp Baking powder
For the Oreo Cheesecake Filling:
- 115 g Full-fat cream cheese
- 15 g Icing sugar
- 15 g Oreos (crushed)
- 1/8 tsp Vanilla extract
For the Chocolate Buttercream:
- 100 g Butter (softened, unsalted)
- 165 g Icing sugar
- 35 g Cocoa powder
- 1-2 tsp Milk
For the Green Grass Buttercream:
- 25 g Butter (softened, unsalted)
- 50 g Icing sugar
- 1/8 tsp Vanilla extract
- Green food coloring
- 35 g Oreos (crushed)
Variations
This recipe is wonderfully flexible! Feel free to get creative and customize it based on your preferences or what you have on hand.
- Change up the filling: Swap out the Oreo cheesecake for another favorite flavor like peanut butter or vanilla bean.
- Experiment with toppings: Use gummy worms or candy pumpkins for an even more festive look!
- Make mini versions: Bake smaller cupcakes for bite-sized treats that are perfect for parties.
- Try different flavors: Add spices like cinnamon or pumpkin spice to the cake batter for a seasonal twist.
How to Make Halloween Graveyard Cupcakes
Step 1: Prepare the Biscuit Graves
Start by making those cute biscuit graves. Snap about a third of each Lotus biscoff biscuit off at one end—this makes them just the right size for our cupcakes. Melt your dark chocolate and dip each biscuit into it before placing them on baking paper to set. This step not only gives them a spooky touch but also ensures they hold their shape when placed atop your cupcakes.
Step 2: Decorate with White Chocolate
Once your dark chocolate is set, melt some white chocolate and put it in a piping bag. Get creative! Pipe fun designs onto your biscuits—a few swirls or dots can really make them pop. Let those designs set while we move on to our cupcake batter.
Step 3: Make Your Cupcake Batter
Preheat your oven to 140C Fan/160C/325F/Gas Mark 3 and line a cupcake tin with cupcake cases. In a mixing bowl, beat together softened baking spread and caster sugar using an electric whisk or stand mixer for about five minutes until light and fluffy; this creates that lovely airy texture in our cupcakes.
Step 4: Mix in Wet Ingredients
Add in your eggs and milk next — whisk them together well until fully combined. This mixture is crucial as it adds moisture and richness to our cake base.
Step 5: Combine Dry Ingredients
Now gently fold in self-raising flour, cocoa powder, and baking powder until just combined. Be careful not to overmix! This keeps our cupcakes soft and tender.
Step 6: Bake Your Cupcakes
Divide your batter evenly among the lined cupcake cases. Pop them into your preheated oven for about 25-30 minutes. They’re done when a skewer inserted into the center comes out clean—be sure to let them cool completely afterward!
Step 7: Make Oreo Cheesecake Filling
While waiting for those delicious cakes to cool down, let’s whip up our Oreo cheesecake filling! Blend together cream cheese, icing sugar, and vanilla until smooth—then fold in those crushed Oreos for that signature crunch!
Step 8: Fill Your Cupcakes
Using either a cupcake corer or simply slicing off the top of each cake slightly, create holes in each cooled cupcake. Fill those holes generously with your creamy cheesecake mixture using either a spoon or small piping bag—it’s going to be heavenly!
Step 9: Create Chocolate Buttercream
Now let’s make that rich chocolate buttercream! Mix together softened butter, cocoa powder, icing sugar, and milk until smooth. A stand mixer works wonders here because we want it fluffy!
Step 10: Prepare Green Grass Buttercream
For our green grass effect on top of the cupcakes, mix together butter and icing sugar before adding vanilla extract and green food coloring. Adjust until you achieve that vibrant green shade—this is where it gets really fun!
Step 11: Assemble Cupcakes
Pipe that luscious chocolate buttercream onto each cupcake using a piping bag fitted with a round nozzle; smooth it out nicely if desired. Then carefully push one of those decorated biscuit graves into each cupcake.
Step 12: Add Final Touches
Sprinkle crushed Oreos around each grave like soil—what an adorable touch! Lastly, pipe some green buttercream around each biscuit gravestone or use small blobs with a spoon for added texture.
Store any leftovers in an airtight container in a cool place; try to enjoy them within three days—they’re so good they’ll disappear quickly anyway! Enjoy sharing these spook-tacular Halloween Graveyard Cupcakes at your next gathering!
Pro Tips for Making Halloween Graveyard Cupcakes
Baking these spooky treats can be a fun adventure, and with a few handy tips, you’ll create a graveyard display that’s sure to impress!
- Use Room Temperature Ingredients: Ensure your butter, eggs, and cream cheese are at room temperature before mixing. This helps achieve a smoother batter and creamier filling, resulting in more tender cupcakes.
- Don’t Overmix the Batter: When combining your dry ingredients with the wet, mix just until incorporated. Overmixing can lead to dense cupcakes instead of the light and fluffy texture we want!
- Cool Completely Before Filling: Allow your cupcakes to cool completely before adding the cheesecake filling. This prevents melting and keeps your filling intact, enhancing the overall presentation.
- Experiment with Decorations: Get creative with your biscuit gravestones! Try different designs or even write spooky messages on them using melted white chocolate for an extra touch of Halloween flair.
- Store Properly: Keep your cupcakes in an airtight container to maintain freshness. They will stay delicious for up to three days but are best enjoyed fresh!
How to Serve Halloween Graveyard Cupcakes
Presenting these delightful cupcakes is all about creating a festive atmosphere! Whether it’s for a Halloween party or a cozy family gathering, make sure they steal the show!
Garnishes
- Edible Eyes: Add small edible candy eyes on top of the buttercream for an eerie effect that will delight guests of all ages.
- Chocolate Shavings: Sprinkle some dark chocolate shavings over the top for an extra layer of flavor and texture that mimics dirt.
- Candy Spiders: Place tiny candy spiders around the cupcakes for an added creepy factor!
Side Dishes
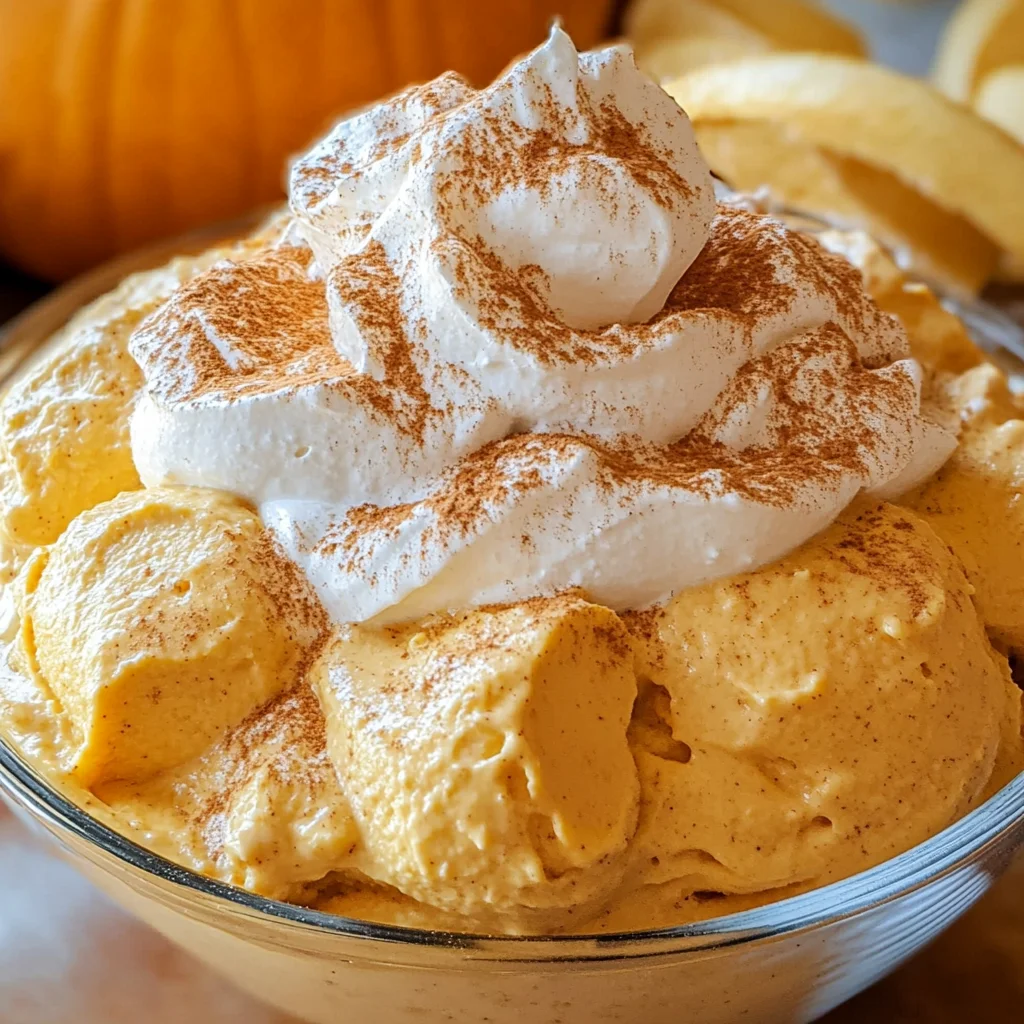
- Pumpkin Soup: A warm bowl of creamy pumpkin soup pairs beautifully as a comforting side dish that’s perfect for fall gatherings.
- Witch’s Brew Punch: Serve a refreshing punch made from sparkling water and fruit juices; it’s a fun non-alcoholic beverage that complements the theme.
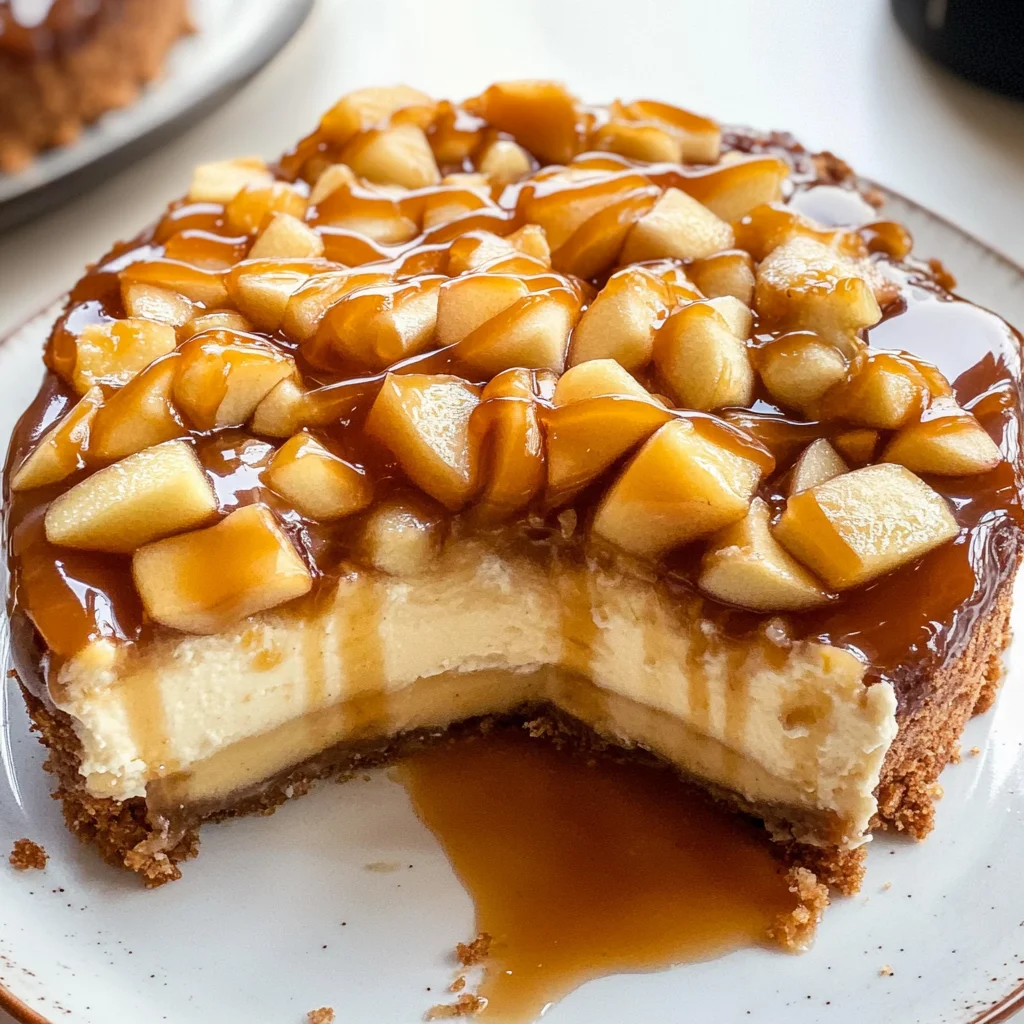
- Apple Slices with Caramel Dip: These sweet and crunchy apple slices provide a refreshing contrast to the rich flavors of the cupcakes while keeping things seasonal.
- Vegetable Platter: A colorful assortment of fresh veggies with hummus dip adds a healthy balance to your dessert table.
Now you’re ready to bake your Halloween Graveyard Cupcakes and wow your guests! Enjoy every bite and have fun with your spooky creations!
Make Ahead and Storage
These Halloween Graveyard Cupcakes are not only a delightful treat but also a great option for meal prep. You can make them ahead of time and store them, ensuring that your spooky celebrations remain stress-free!
Storing Leftovers
- Place the cupcakes in an airtight container.
- Store them in a cool place away from direct sunlight.
- Consume any leftovers within 3 days for optimal freshness.
Freezing
- Allow the cupcakes to cool completely before freezing.
- Wrap each cupcake individually in plastic wrap or foil.
- Place wrapped cupcakes in a freezer-safe container or bag.
- Freeze for up to 1 month. Thaw at room temperature before serving.
Reheating
- These cupcakes are best enjoyed at room temperature but can be gently reheated if desired.
- If you prefer them warm, place them in the microwave for about 10-15 seconds.
- Avoid overheating to prevent drying out the cupcakes.
FAQs
Here are some common questions you might have about making these fun Halloween treats:
Can I make Halloween Graveyard Cupcakes without eggs?
Yes! You can substitute eggs with egg replacers such as applesauce, mashed bananas, or flaxseed meal mixed with water. This will keep your cupcakes moist and delicious.
How do I store my Halloween Graveyard Cupcakes?
Store your leftover cupcakes in an airtight container in a cool place. Enjoy them within 3 days for the best taste!
Can I use different fillings for Halloween Graveyard Cupcakes?
Absolutely! Feel free to experiment with other fillings like pumpkin puree, chocolate mousse, or even fruit preserves for a twist on this recipe.
What if I don’t have green food coloring?
If you don’t have green food coloring, you can create a natural green shade using matcha powder or simply skip it and let the white buttercream shine!
Final Thoughts
I hope you have as much fun making these Halloween Graveyard Cupcakes as I did! They’re not just treats; they’re little works of art that bring joy and creativity to your festivities. Perfect for both kids and adults alike, these cupcakes are sure to impress at any spooky gathering. Don’t hesitate to try this recipe — may it add a sprinkle of magic to your Halloween celebrations! Happy baking!
Halloween Graveyard Cupcakes

Get ready to impress your friends and family with these Halloween Graveyard Cupcakes! These delightful treats are a spooky twist on classic chocolate cupcakes, filled with a creamy Oreo cheesecake center and topped with rich chocolate buttercream. Perfect for any Halloween gathering, they offer a fun decorating experience for kids and adults alike. With the added crunch of crushed Oreos sprinkled around the cupcakes, they truly resemble a graveyard scene that will delight all ages. Whether you’re hosting a festive party or just want to enjoy some seasonal fun, these cupcakes are sure to steal the show!
- Prep Time: 30 minutes
- Cook Time: 30 minutes
- Total Time: 1 hour
- Yield: Makes approximately 12 servings 1x
- Category: Dessert
- Method: Baking
- Cuisine: American
Ingredients
- 12 Lotus biscoff biscuits
- 150 g dark chocolate (melted)
- 175 g baking spread or butter (softened, unsalted)
- 175 g caster sugar
- 3 large eggs
- 2 tbsp milk
- 150 g self-raising flour
- 25 g cocoa powder
- 115 g full-fat cream cheese
- 15 g icing sugar
- 15 g Oreos (crushed)
- 1/8 tsp vanilla extract
- 100 g butter (for frosting)
- 165 g icing sugar
- 35 g cocoa powder
- 1–2 tsp milk
- 25 g butter (for green buttercream)
- 50 g icing sugar (for green buttercream)
- 1/8 tsp vanilla extract (for green buttercream)
- green food coloring
- 35 g Oreos (crushed, for decoration)
Instructions
- Prepare biscuit graves by snapping off a third of each Lotus biscoff biscuit and dipping them in melted dark chocolate. Let them set.
- Preheat the oven to 140C Fan/160C/325F/Gas Mark 3 and line a cupcake tin.
- Beat softened baking spread and caster sugar together until fluffy. Add eggs and milk, mixing well.
- Fold in self-raising flour, cocoa powder, and baking powder until just combined.
- Divide batter into cupcake cases and bake for 25-30 minutes. Allow to cool completely.
- For the Oreo cheesecake filling, mix cream cheese, icing sugar, vanilla extract, and crushed Oreos until smooth.
- Create holes in cooled cupcakes and fill generously with the cheesecake mixture.
- For chocolate buttercream, mix softened butter with cocoa powder and icing sugar until smooth; pipe onto cupcakes.
- Prepare green buttercream by mixing icing sugar with softened butter, vanilla, green food coloring, then decorate around each biscuit grave.
Nutrition
- Serving Size: 1 cupcake (80g)
- Calories: 290
- Sugar: 28g
- Sodium: 120mg
- Fat: 14g
- Saturated Fat: 7g
- Unsaturated Fat: 5g
- Trans Fat: 0g
- Carbohydrates: 38g
- Fiber: 1g
- Protein: 4g
- Cholesterol: 50mg

Leave a Comment